Are you considering migrating your online store to WooCommerce? With an extensive list of features and a vast plugin ecosystem, WooCommerce is the ideal choice for many online businesses. In this guide, we will discuss why you should migrate to WooCommerce and how you can do it from different platforms, including Shopify, Magento, BigCommerce, SquareSpace, and PrestaShop.
3 Ways In Which You Can Migrate To WooCommerce
When it comes to migrating your online store to WooCommerce, you have several options available. In this section, we will explore three different approaches to ensure a smooth and efficient migration process. Each method has its advantages and disadvantages, so you should choose the one that best suits your needs and technical expertise.
1. Migrate To WooCommerce Manually
Manual migration involves exporting data from your existing platform and then importing it into WooCommerce. This process can be time-consuming but gives you complete control over the migration process. It is especially suitable for small stores with limited product inventory. However, it may require more technical knowledge and can be prone to errors if not done correctly.
2. Using Migration Tools
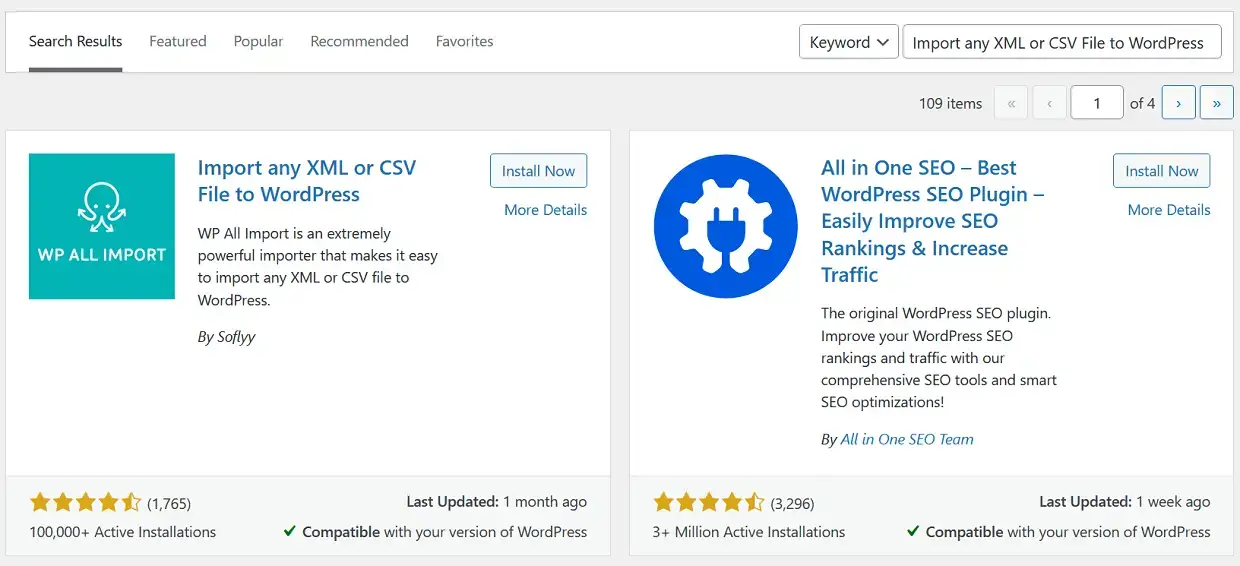
Migration tools, such as the Cart2Cart plugin or WP All Import, can automate the migration process. These tools simplify the process, making it more accessible for those with limited technical knowledge.
You can easily migrate Shopify to WooCommerce, migrate from Magento to WooCommerce, and more using these tools. While using migration tools is generally quicker and easier than manual migration, it may not offer the same level of control over the process.
3. Expert WooCommerce Migration Services
Hiring experts to handle your WooCommerce migration is the safest and most efficient option. This ensures that the migration process is smooth, and you don’t lose any valuable data. Woosa, a leading WordPress and WooCommerce plugin provider, offers expert migration services to help you switch from any platform to WooCommerce. While this option may be more expensive than the other methods, it provides peace of mind knowing that your migration is in the hands of professionals with experience and expertise in the field.
Migrate to WooCommerce from Different Platforms
Migrate from Shopify to WooCommerce
If you’re considering moving your online store from Shopify to WooCommerce, the process is straightforward and manageable. By following these step-by-step instructions, you can successfully migrate your product data, customers, orders, and other essential information from Shopify to WooCommerce.
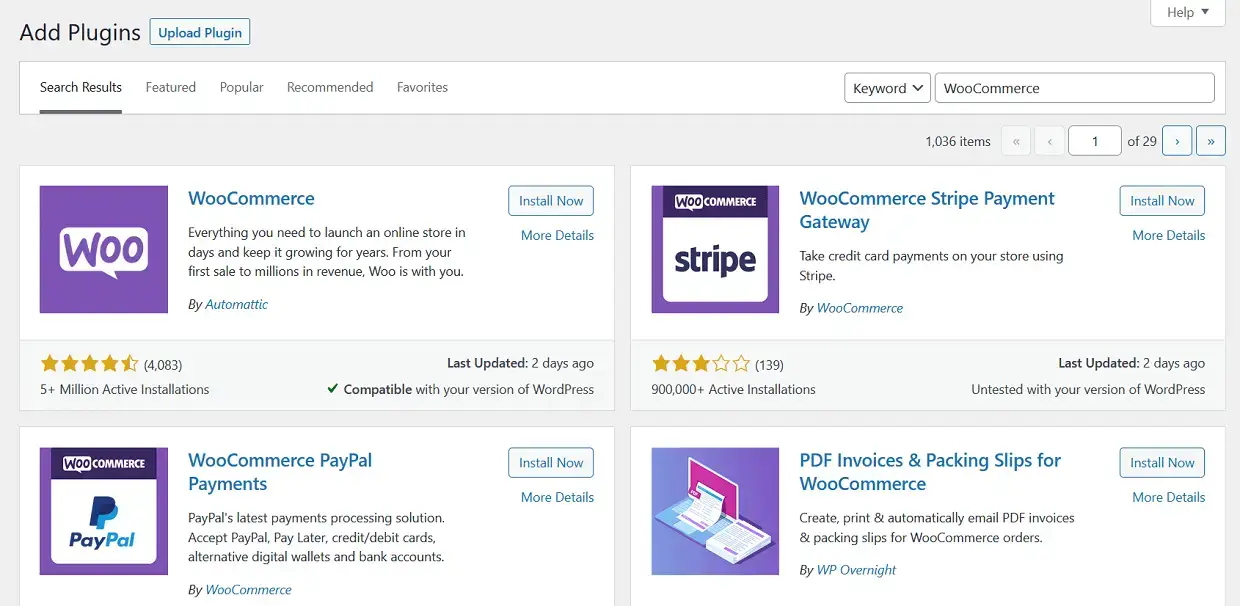
Step 1: Set up a new WordPress website and install the WooCommerce plugin.
Step 2: Export your Shopify product data, customers, and orders in CSV format.
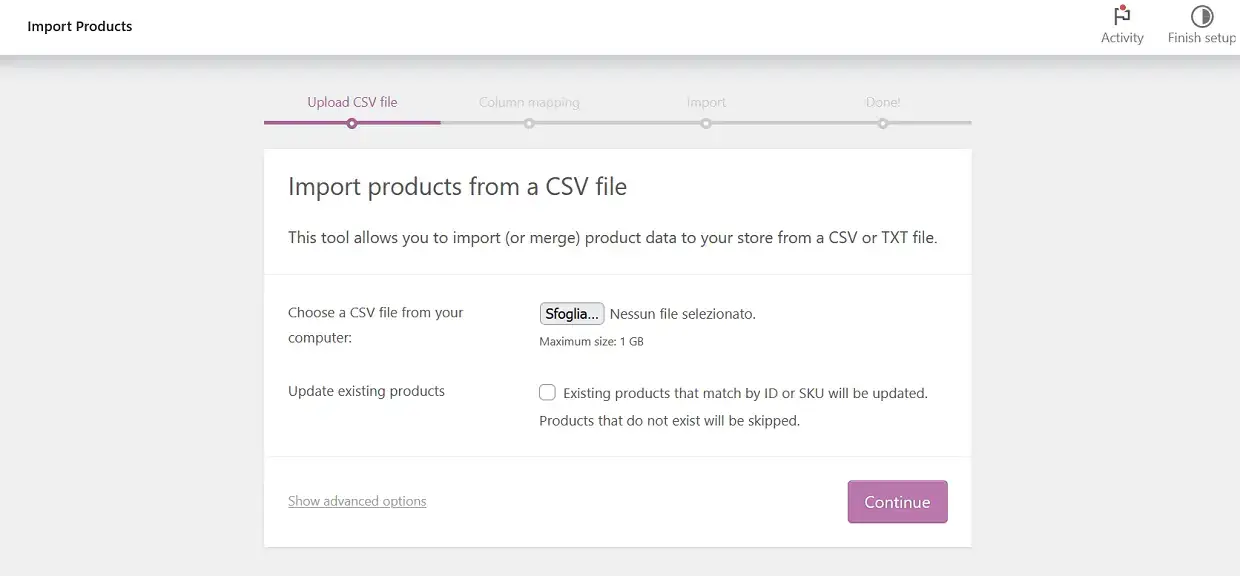
Step 3: Import the CSV files into WooCommerce using the WooCommerce importer or a plugin like WP All Import.
Step 4: Transfer and set up any necessary additional plugins for payment gateways, shipping, and other essential store functionalities.
Step 5: Customise the design and theme of your new WooCommerce store.
Step 6: Test the new website to ensure all functionalities are working correctly.
Migrate From Magento to WooCommerce
Switching from Magento to WooCommerce is a popular choice for many online store owners looking for a more flexible and user-friendly platform. With this step-by-step guide, you’ll learn how to migrate your products, customers, orders, and other important data from Magento to WooCommerce with ease.
Step 1: Install WordPress and WooCommerce on your new website.
Step 2: Export your Magento data, including products, customers, orders, and other essential information.
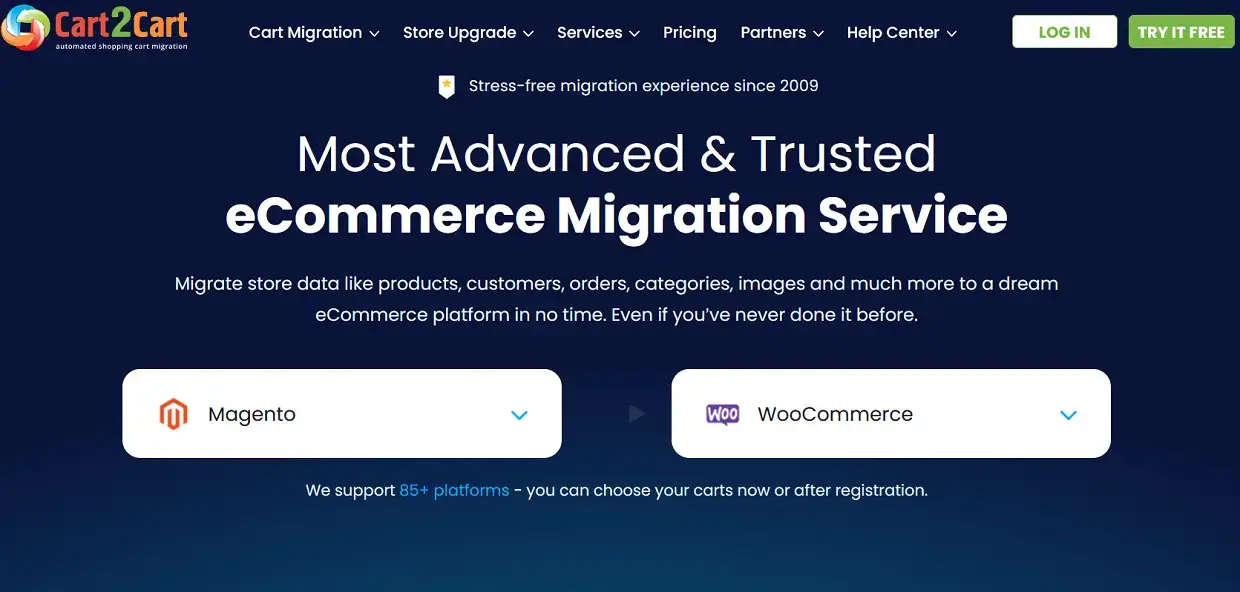
Step 3: Use a migration tool like Cart2Cart to import the data into WooCommerce.
To migrate from Magento to WooCommerce with Cart2Cart:
- Connect the Source (Magento). Provide URL and API.
- Connect WooCommerce. You can install the required connection on your WordPress site manually or automatically.
- Choose the data to migrate.
- Launch your migration, and you’re done!
Step 4: Configure the necessary plugins for payment processing, shipping, and other store functionalities.
Step 5: Customise the design and theme of your new WooCommerce store.
Step 6: Test the new website to ensure all functionalities are working correctly.
Migrate BigCommerce to WooCommerce
Transitioning from BigCommerce to WooCommerce offers many benefits, including increased flexibility and a larger plugin ecosystem. In this step-by-step guide, we’ll walk you through the process of migrating your product data, customer information, orders, and other essential data from BigCommerce to WooCommerce.
Step 1: Start by setting up a new WordPress website and install the WooCommerce plugin to create the foundation for your new online store.
Step 2: Export all of your essential BigCommerce data, including product details, customer information, and order history.
Step 3: Use a migration tool, such as Cart2Cart or WP All Import, to import your data into WooCommerce. This process will help ensure that your data is transferred accurately and efficiently.
Step 4: Once the data has been transferred, install and configure any necessary plugins for payment gateways, shipping, and other store functionalities. This step will help to ensure that your new store has all the necessary features and capabilities for a successful launch.
Step 5: Customize the design and theme of your new WooCommerce store to reflect your brand and vision.
Step 6: Test your new website thoroughly to ensure that all functionalities are working correctly. This testing process will help to catch any issues before the site goes live and will give you peace of mind that everything is working as intended.
By following these six steps, you’ll be able to migrate your BigCommerce store to WooCommerce smoothly and efficiently.
Migrate From SquareSpace to WooCommerce
Migrating from SquareSpace to WooCommerce is an excellent option for online store owners looking for a more powerful and customizable eCommerce solution. This step-by-step guide will help you transfer your product data, customers, orders, and other critical information from SquareSpace to WooCommerce with minimal hassle.
Step 1: Install WordPress and WooCommerce on your new website.
Step 2: Export your SquareSpace product data as a CSV file.
Step 3: Import the CSV file into WooCommerce using the WooCommerce importer or a plugin like WP All Import.
Step 4: Set up necessary plugins for payment processing, shipping, and other essential store functionalities.
Step 5: Customise the design and theme of your new WooCommerce store.
Step 6: Test the new website to ensure all functionalities are working correctly.
Migrate PrestaShop to WooCommerce
For those looking to move from PrestaShop to WooCommerce, this step-by-step guide will make the process simple and stress-free. Follow the instructions to transfer your product data, customer information, orders, and other essential data from PrestaShop to WooCommerce, and enjoy the benefits of a more user-friendly and versatile eCommerce platform.
Step 1: Set up a new WordPress website and install the WooCommerce plugin.
Step 2: Export your PrestaShop data, including products, customers, orders, and other essential information.
Step 3: Use a migration tool like Cart2Cart or WP All Import to import the data into WooCommerce.
Step 4: Configure the necessary plugins for payment processing, shipping, and other store functionalities.
Step 5: Customise the design and theme of your new WooCommerce store.
Step 6: Test the new website to ensure all functionalities are working correctly.
WooCommerce Migration Checklist
A successful migration to WooCommerce requires careful planning and execution. To ensure a smooth transition, follow this comprehensive WooCommerce migration checklist that covers all the essential steps, from choosing the right approach to setting up SEO for your new store. This detailed checklist will help you avoid common pitfalls and ensure a seamless migration process.
1. Choose the right approach
First of all you should decide whether manual migration, using a migration tool, or hiring expert WooCommerce migration services is the best option for your needs. Consider factors such as your technical expertise, the size of your store, and the complexity of your data. Weigh the pros and cons of each approach to make an informed decision that will minimize disruptions to your business and lead to a successful migration.
2. Choose the right migration tools
If you opt for using migration tools, research and select the most suitable tool for your specific migration process. There are numerous options available, each with its unique features and capabilities. Popular choices include Cart2Cart, WP All Import, and WP Migrate DB Pro. Consider factors such as pricing, ease of use, and compatibility with your current platform when selecting a migration tool.
3. Set up a new WordPress website
Install WordPress on your new domain and configure the necessary settings, including site title, timezone, and permalink structure. Next, install the WooCommerce plugin and any other essential plugins required for your store’s functionality, such as payment gateways, shipping options, and analytics tools. Customize your site’s theme and design to match your brand identity and ensure a consistent user experience.
4. Get FTP credentials
Obtain FTP (File Transfer Protocol) credentials for both your current platform and the new WooCommerce website. These credentials will allow you to transfer files and data between the two platforms during the migration process. Ensure that you have the necessary software, such as FileZilla or Cyberduck, to facilitate the file transfers.
5. Take a backup of your eCommerce data
Create a backup of all crucial data on your existing eCommerce platform. This includes product information, customer data, order history, blog posts, and media files. Having a backup ensures you can recover your data if any issues arise during the migration process. Store the backup securely, either on a local drive or a cloud storage service, to ensure easy access if needed.
6. Update DNS Entry
Once your new WooCommerce website is ready, update your domain’s DNS (Domain Name System) entry to point to the new website. This will ensure that visitors are directed to the correct site when accessing your domain. It may take some time for the DNS changes to propagate, so plan accordingly to minimize downtime.
7. Test New Website
Thoroughly test your new WooCommerce website for functionality, design, and user experience. Ensure that all plugins, payment gateways, and shipping options are working correctly. Test the website on different devices and browsers to ensure compatibility and optimal performance. Address any issues before making the website live to avoid negative user experiences and potential loss of sales.
8. Check Internal Links
Verify that all internal links within your new WooCommerce website are working correctly. This includes navigation menus, product links, category links, and other essential site connections. Use a link checker tool to scan your site for broken links and fix them promptly. Ensuring that all links are functioning properly will improve user experience and prevent potential SEO issues resulting from broken links.
9. Set Up SEO
Configure the SEO settings for your new WooCommerce website to ensure optimal search engine visibility. Install an SEO plugin like Yoast SEO or Rank Math to help with keyword optimization, meta descriptions, and other important SEO factors.
Additionally, set up 301 redirects from your old URLs to the new ones to maintain your search engine rankings and avoid broken links. Use a redirection plugin or manually set up 301 redirects in your site’s .htaccess file.
Lastly, monitor your site’s performance using tools like Google Analytics and Google Search Console, providing valuable insights for further optimization and growth. Regularly review and update your SEO strategy to ensure continued success in search engine rankings and organic traffic.
Conclusion
Migrating to WooCommerce from any platform can be a seamless process when you follow the right steps and utilize the appropriate tools. By following this guide, you can successfully move your online store to WooCommerce, taking advantage of its flexibility, customization options, and a vast plugin ecosystem. Remember to keep SEO in mind and monitor your store’s performance to ensure continued growth and success in the competitive world of eCommerce.
If you’re new to WooCommerce and need some guidance on installing plugins, don’t miss our helpful YouTube video tutorial on how to install a WooCommerce plugin. Be sure to watch the video, like it, and subscribe to our channel for more helpful tips and tricks.
